Here is about, how to create a self-signed certificate using Windows PowerShell ISE. The self-signed certificate is using to access web clients and mobile clients in NAV. Follow the below steps:
- Download the “GenerateSSCertificate.ps1” file using the below link to create the certificate.
- After downloading the “GenerateSSCertificate.ps1” file copy that into C: drive in the public server (web client running server).
- Run Windows PowerShell ISE as an administrator and execute the below script on the public server. In the below example, 192.168.1.1 is the public IP address. replace your correct public IP address and execute the script. After executing script certificate will be install.
Set-ExecutionPolicy Unrestricted -Force
Import-Module c:\GenerateSSCertificate.ps1
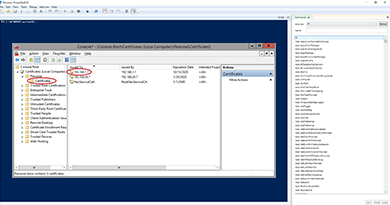
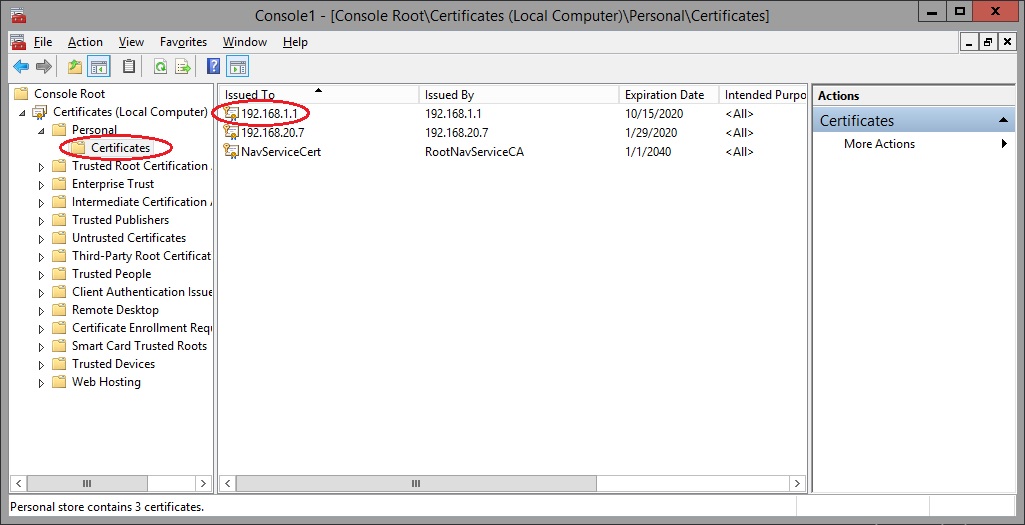
New-SelfSignedCertificateEx –Subject "CN=192.168.1.1" –IsCA $true –Exportable –StoreLocation LocalMachine -SubjectAlternativeName 192.168.1.1Code language: JavaScript (javascript)- After executing the script go to MMC and check the certificate is installed correctly.
Visit the previous tutorial about, how to register an Automation Dot Net DLL file using Windows PowerShell.
Vidura Dananjaya
Senior Solutions Architect - Microsoft Dynamics Navision / Microsoft Dynamics 365 Business Central and freelance developer. (The admin of NAVUSER)